http//fp.tobyfam.plus.com
Workshop pictures
| Home Page |
| Observatory |
| Astronomy |
| Workshop |
| Gwynedd |
| Holidays |
| Links |
| Work |
| Garden |
| Photography |
| Pinky's Page |
| Emcoturn Log |
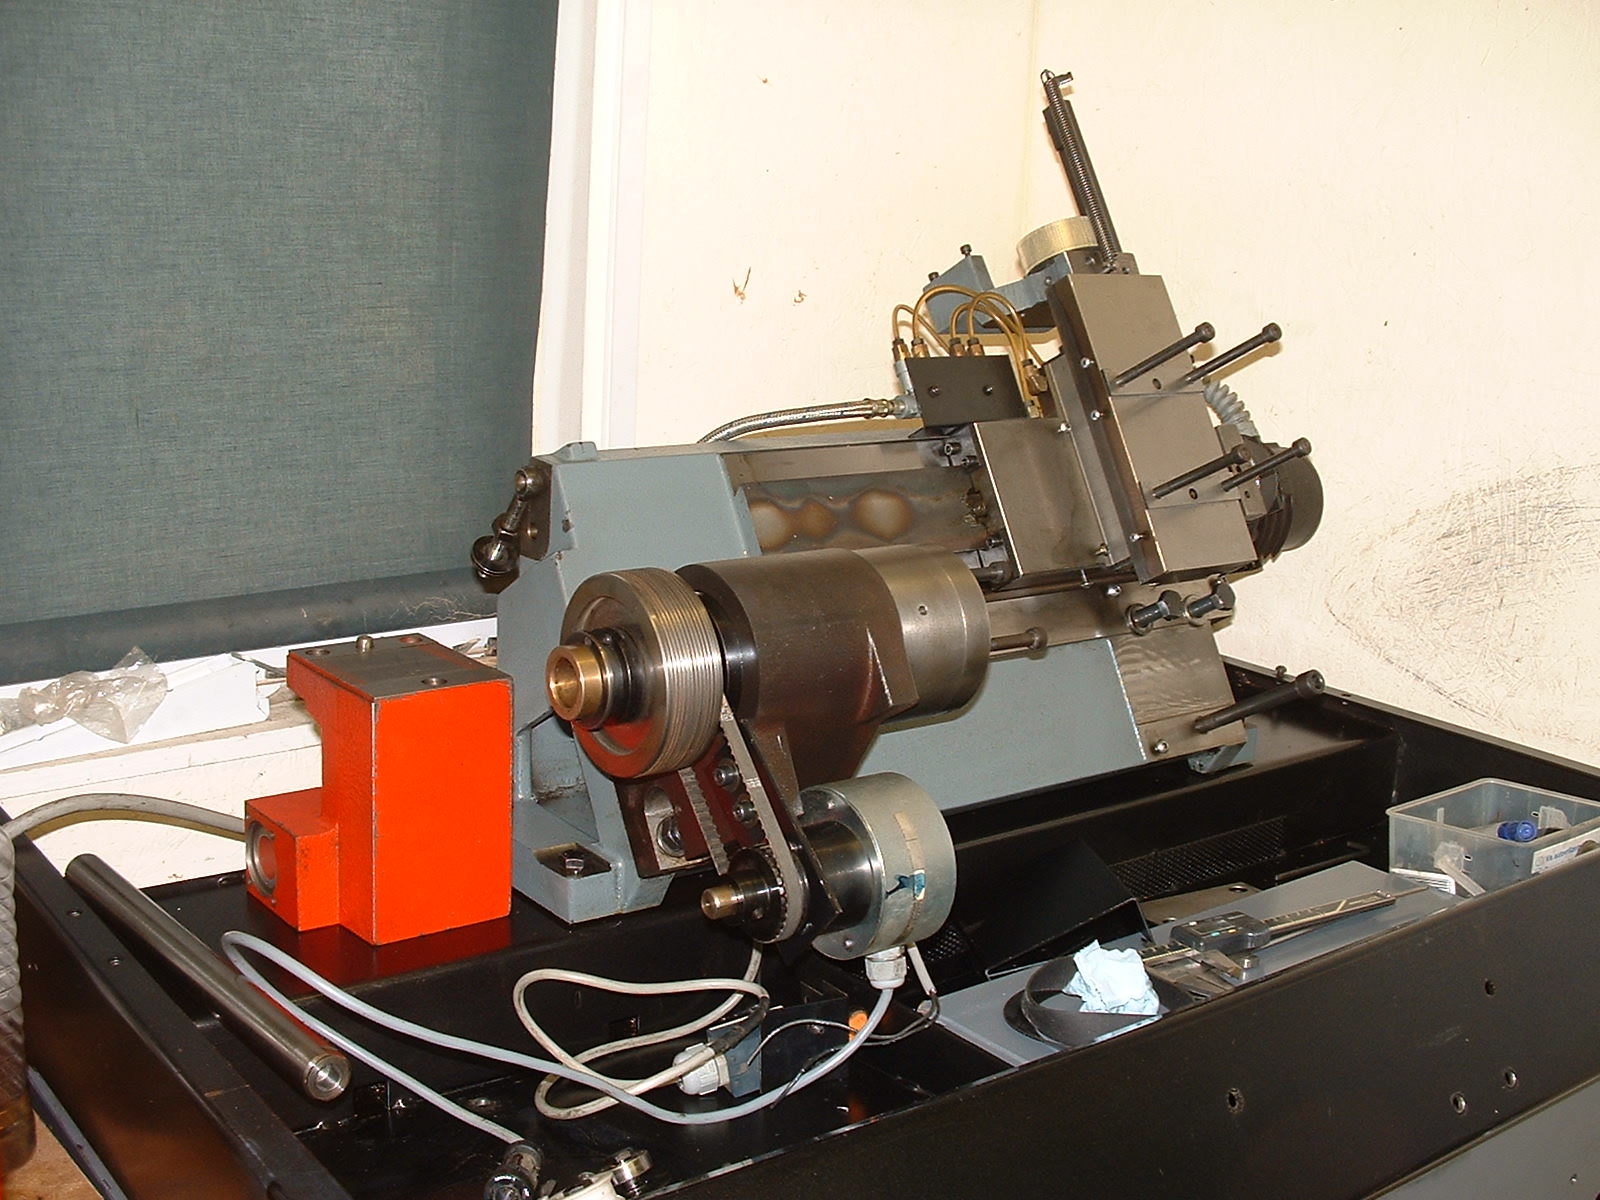
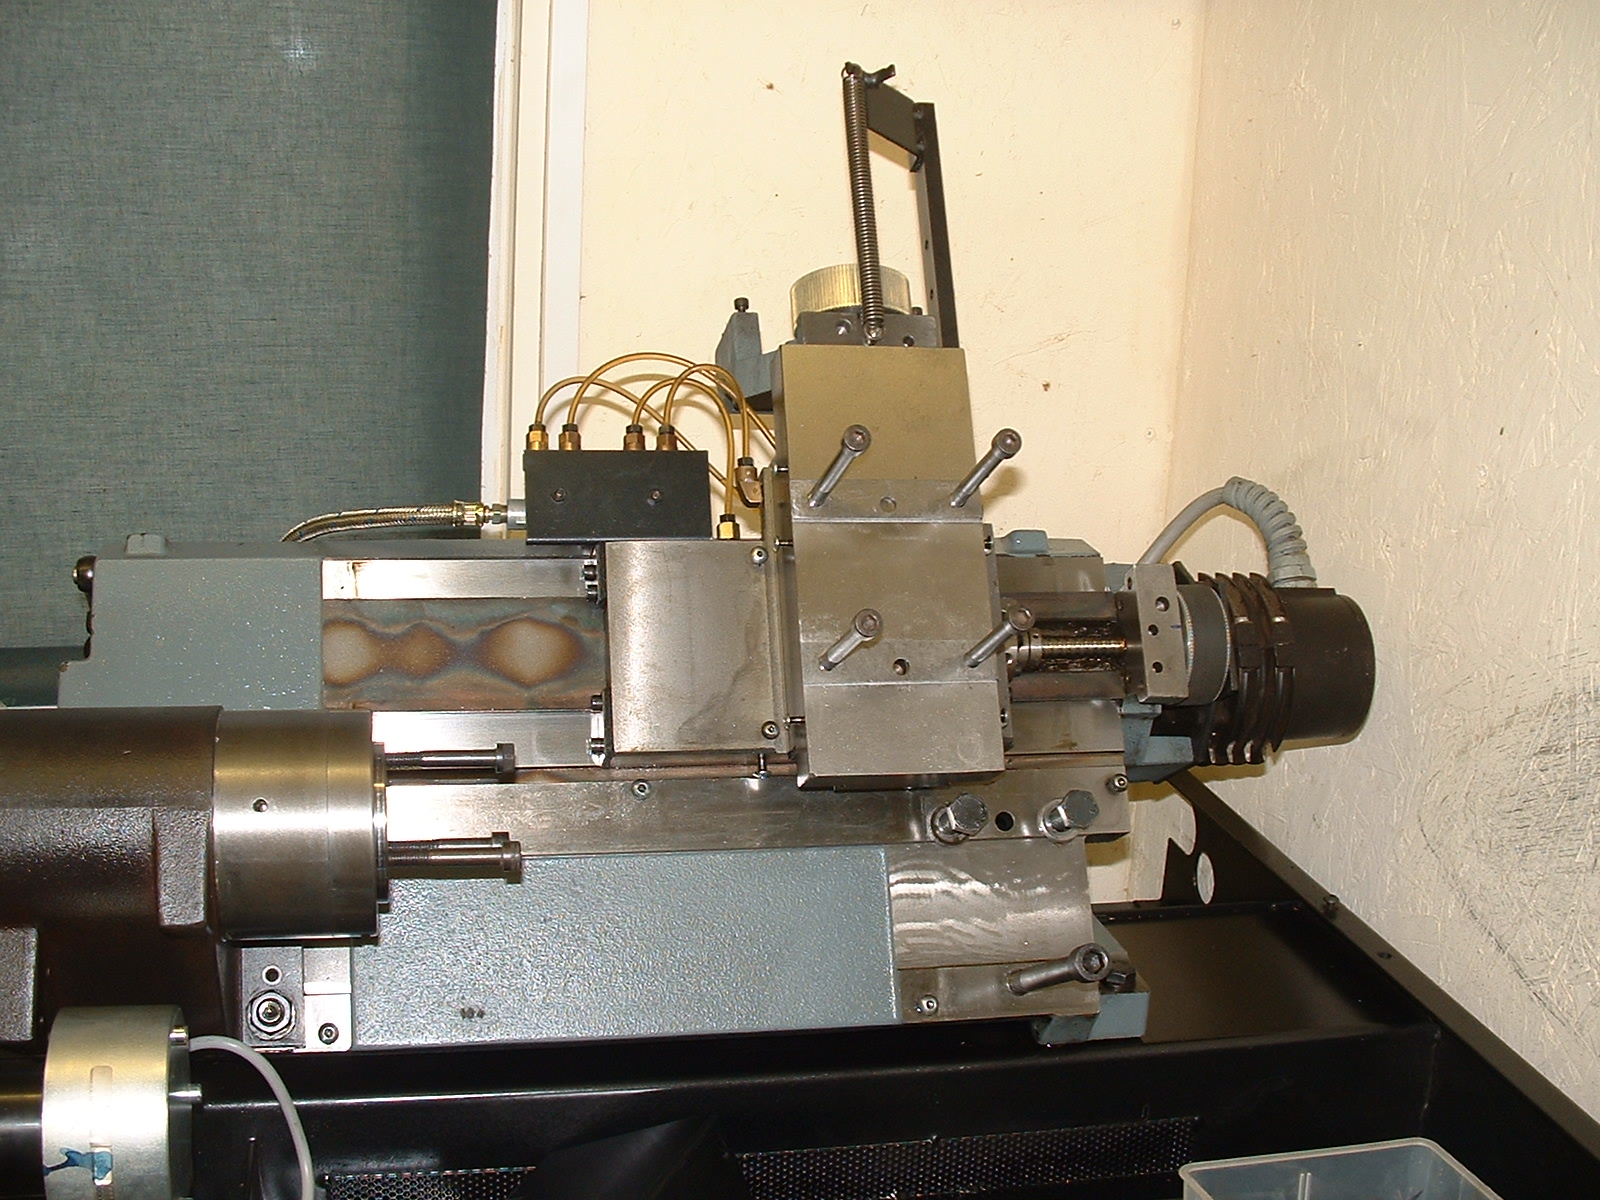
| Emcoturn120P
Added this sweet bit of kit, here is a video of it running for the first time under Mach3 control, original steppers and drives video, about 6.5mb some pictures
one naked machine, cleaning about 14 years of grease
More to follow on the Emcoturn Log page
|
| CNC project-002
X and Y motor mounts are machined, so fitted the X motor after rotating the lead screw (motor now mounted on the left side) Mach settings have improved, I'm now running
at 1050 mm/min. Video early X axis under CNC control 6.5mb Video later run, 350mm/min
|
| CNC project-001
current status: Test motor and drive are hooked up to a
bench supply
|
| Video of X axis under CNC control with temp motor lash-up 8mb |
| Video of X axis jogging with temp motor lash-up 5mb |
| Vacuum Work holding on the Mill |
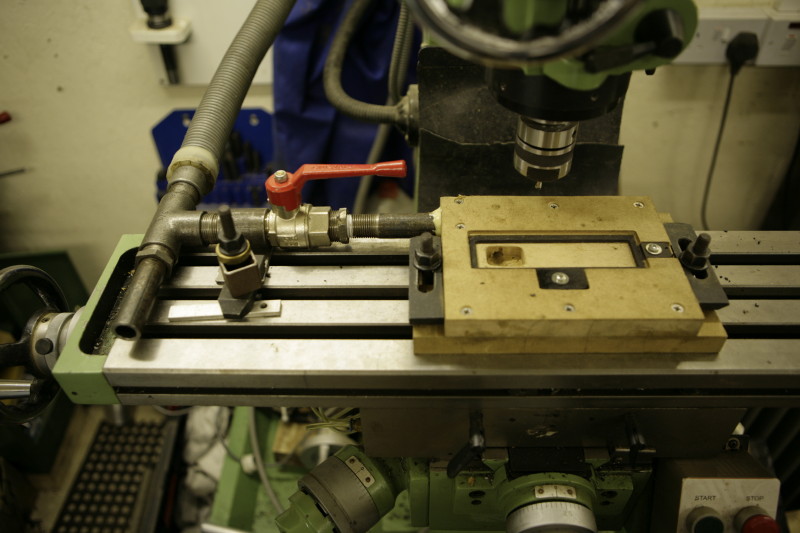 The
clamp ready to be used. The
clamp ready to be used.The tube leads to an industrial Vac, which draws trough the restricted T. The valve allows me to turn the vacuum off without having to switch off the Vac. running the Vac dead into the clamp would have overheated the Vac as there would be no air flow over the motor. Next round I'll hope to use a proper Pump, as the Vac means ear-defenders |
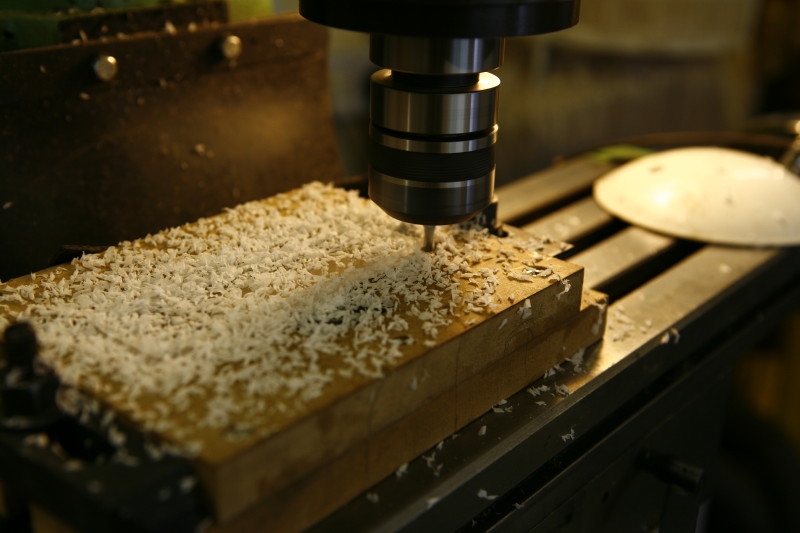 The
clamp in use, this is at the end of the cutting cycle The
clamp in use, this is at the end of the cutting cycle
The rebate is cut in one go |
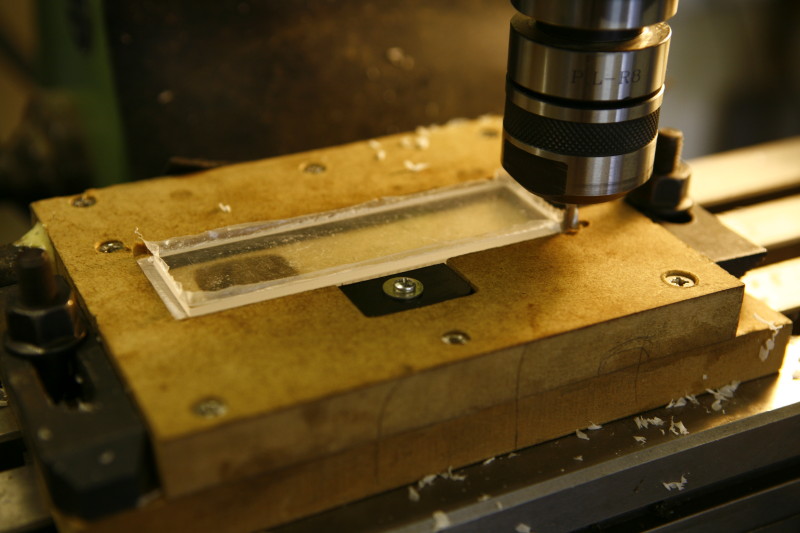 The
end product in the clamp, note the protective film which is left on
at this stage, it simply curls up The
end product in the clamp, note the protective film which is left on
at this stage, it simply curls up |
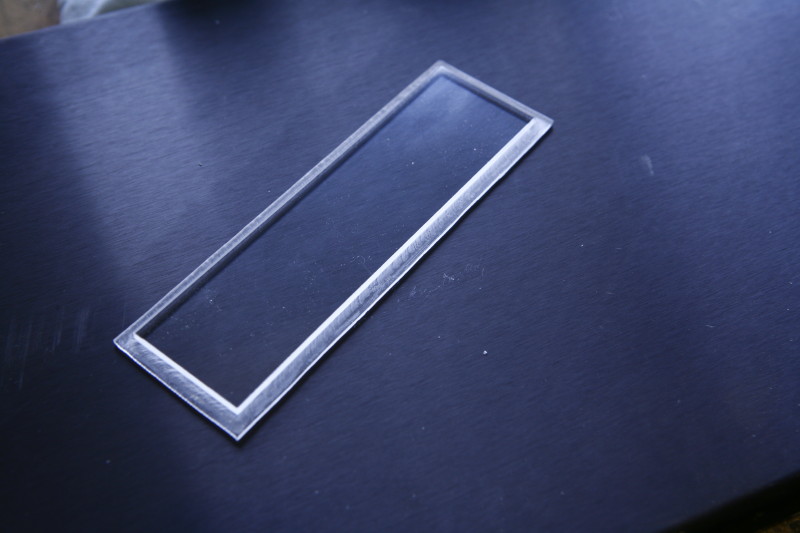 The
end product ready to go into the console. The
end product ready to go into the console.
a perfect right angle rebate. with razor sharp edges.
|
| CNC control |
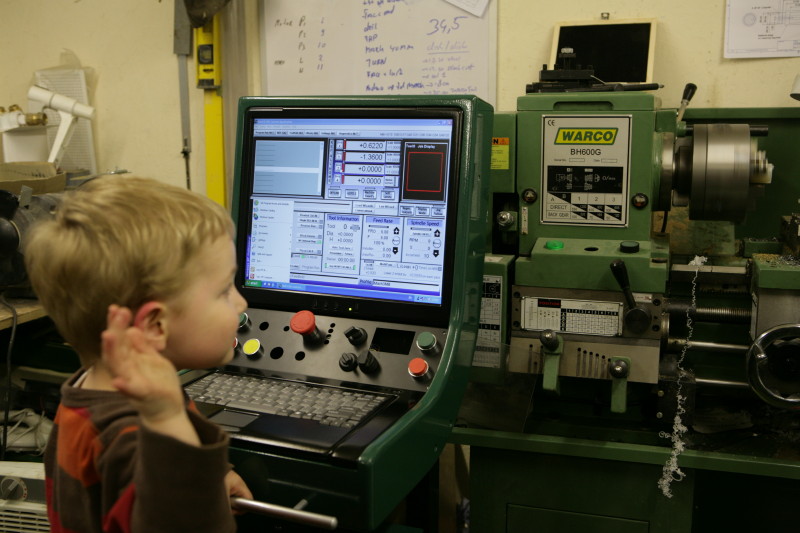 Gwyn
in control Gwyn
in control
the PC is running, as is the Inverter, Still need to wire the Interlocks and the Mill.
CNC child splay...... |
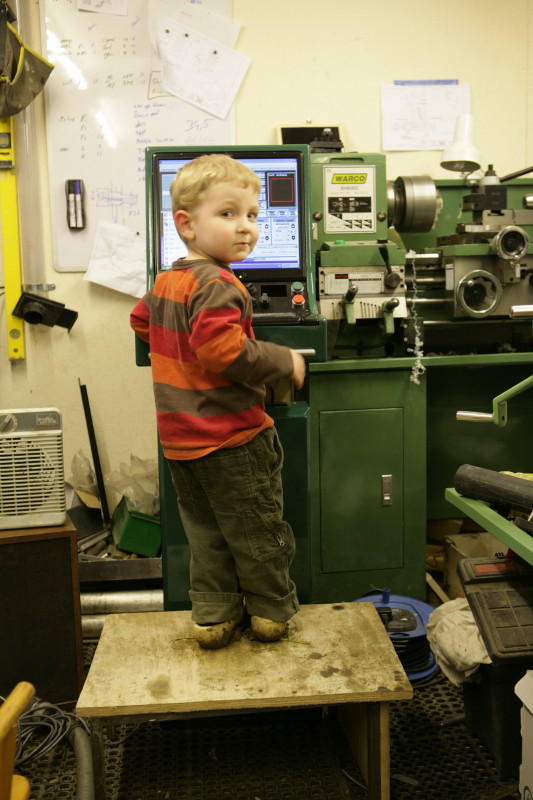 left
to his own devices, Gwyn simply picks his bench (special low
version) and puts a bit of wood on it,
so he can stand don it.... left
to his own devices, Gwyn simply picks his bench (special low
version) and puts a bit of wood on it,
so he can stand don it.... |
 Stand
made, console partially assembled Stand
made, console partially assembledThe Driver cabinet will be stuck to the MDF board under the console A bit of wiring to be done now :(
|
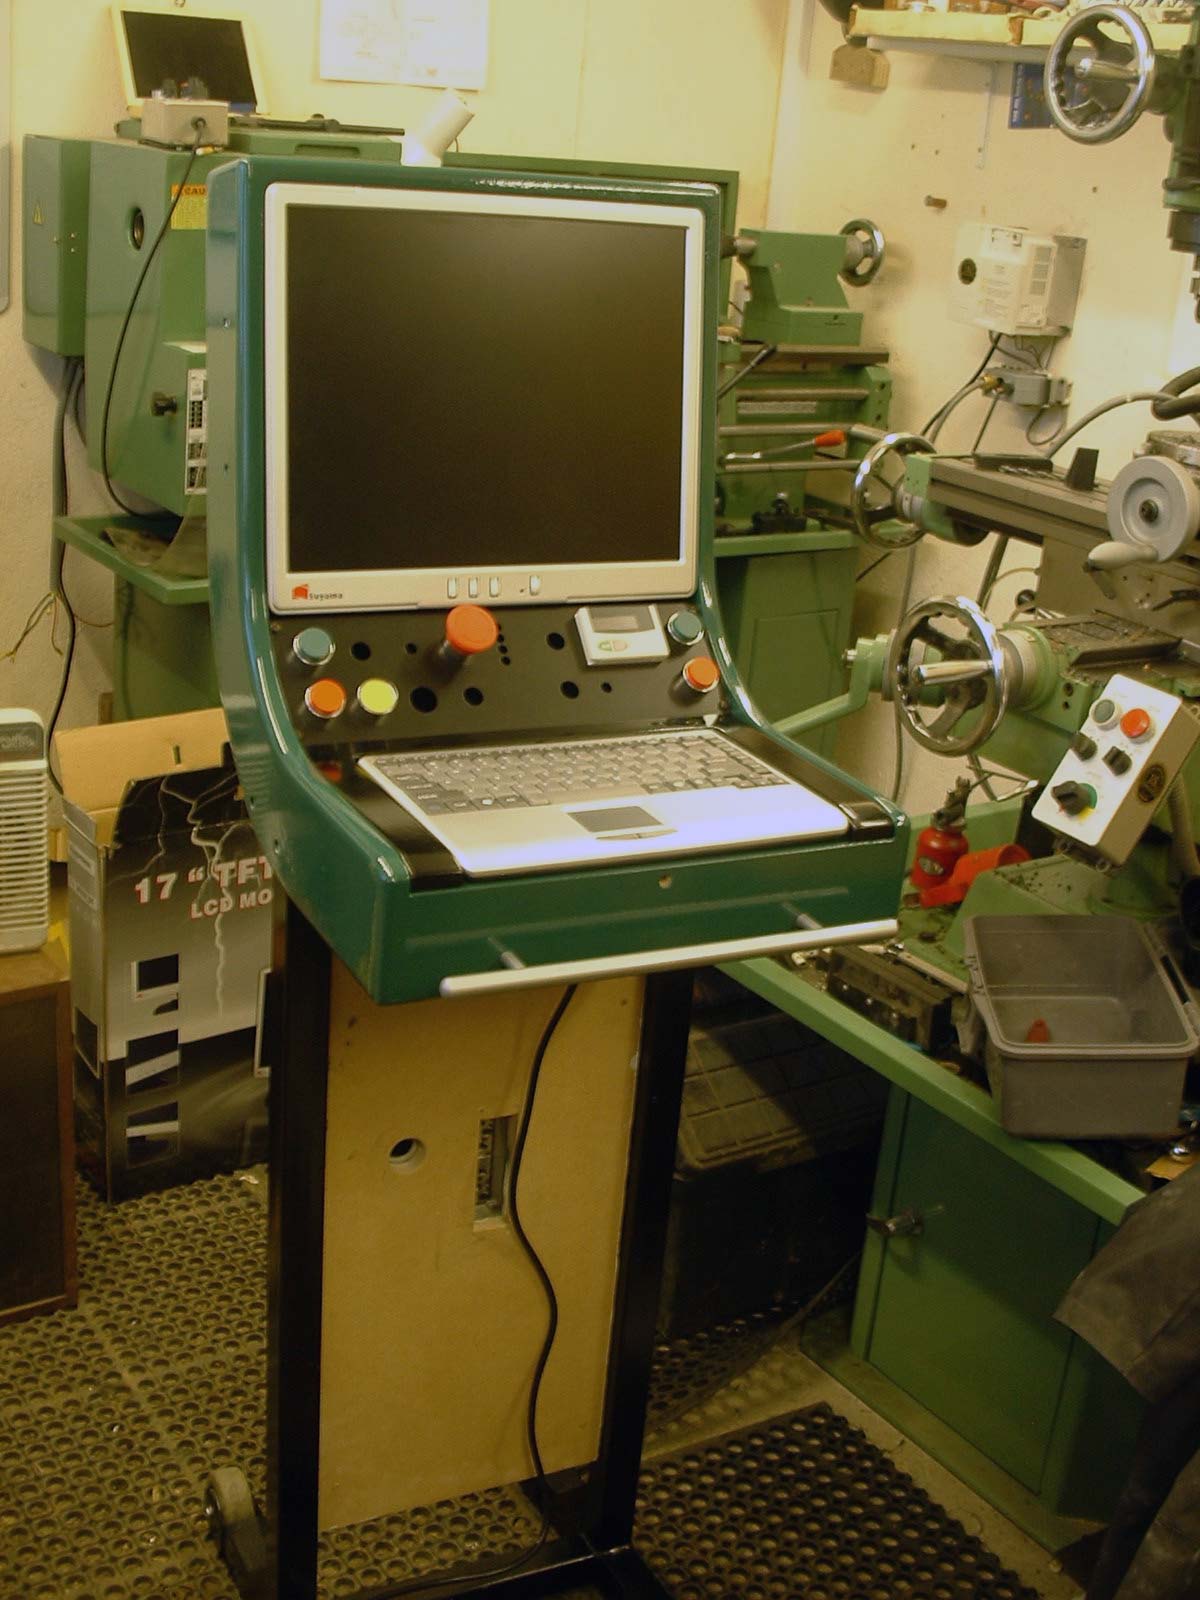
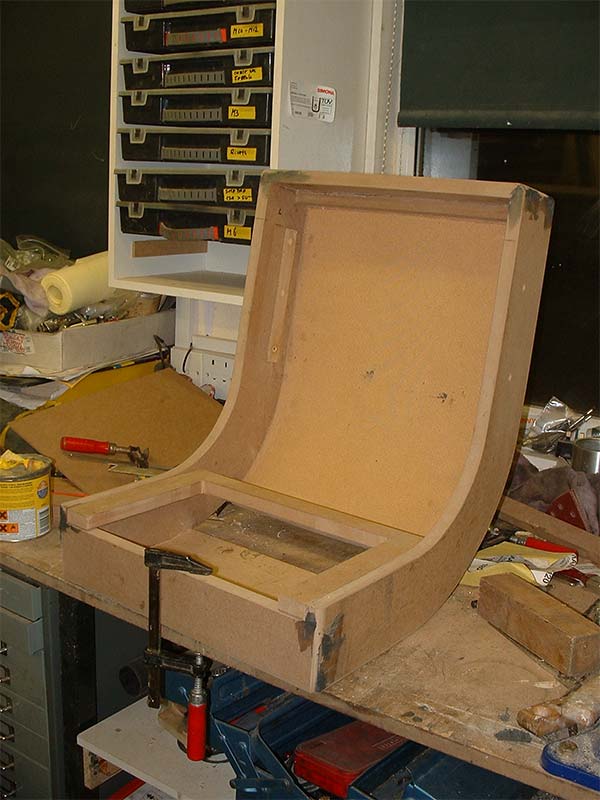 Console
assembled and filler applied Console
assembled and filler applied |
| New Lathe BH600 from Warco |
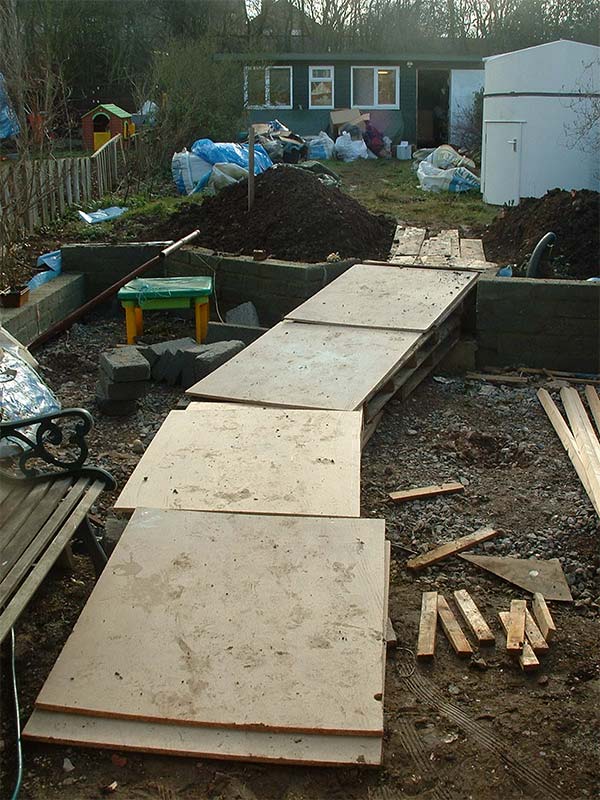 The
ramp in the garden The
ramp in the garden |
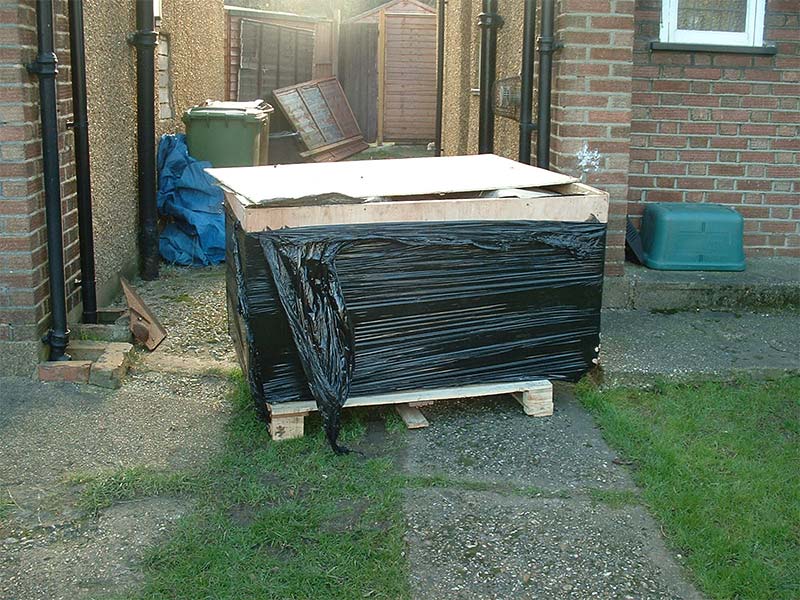 400Kg
of Lathe 400Kg
of Lathe |
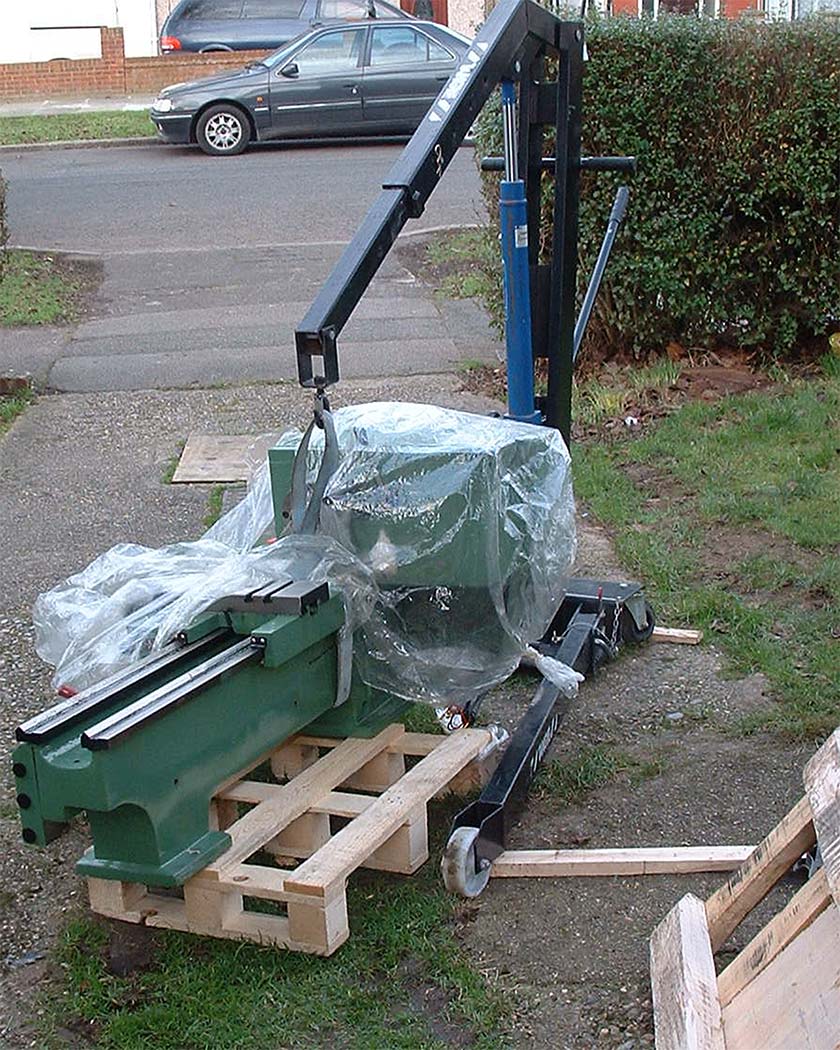
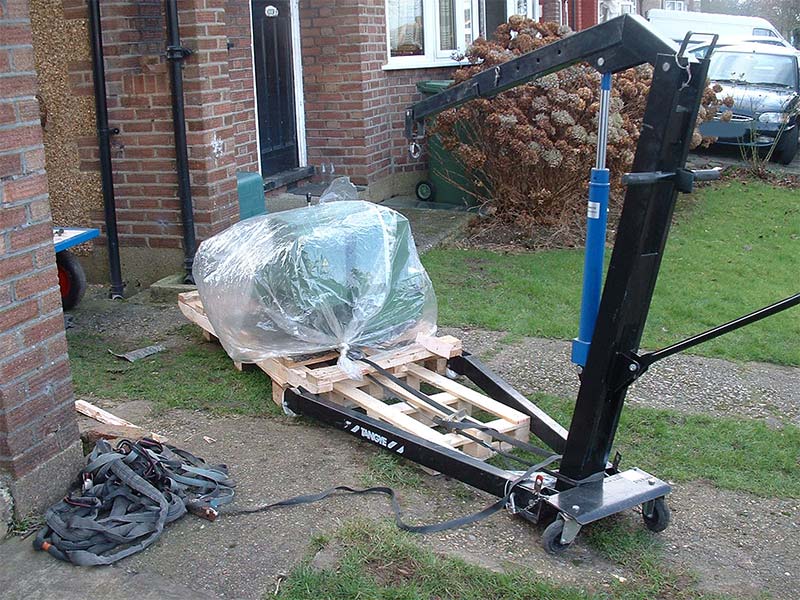 The
legs of the crane where constantly in the way. Here I had to shift
the crate onto a smaller pallet in order to lift the lathe clear of
the crate. First I tried using a ratchet strap, The I simply lifted
the crate with the crane, this dragged it towards the crane and
solved the problem The
legs of the crane where constantly in the way. Here I had to shift
the crate onto a smaller pallet in order to lift the lathe clear of
the crate. First I tried using a ratchet strap, The I simply lifted
the crate with the crane, this dragged it towards the crane and
solved the problem |
|
|
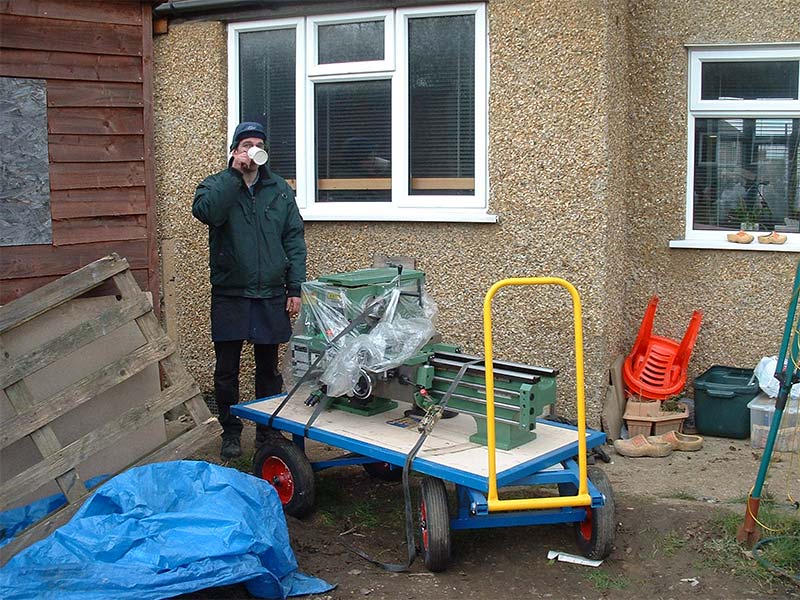 Time
for Earl Grey Time
for Earl Grey |
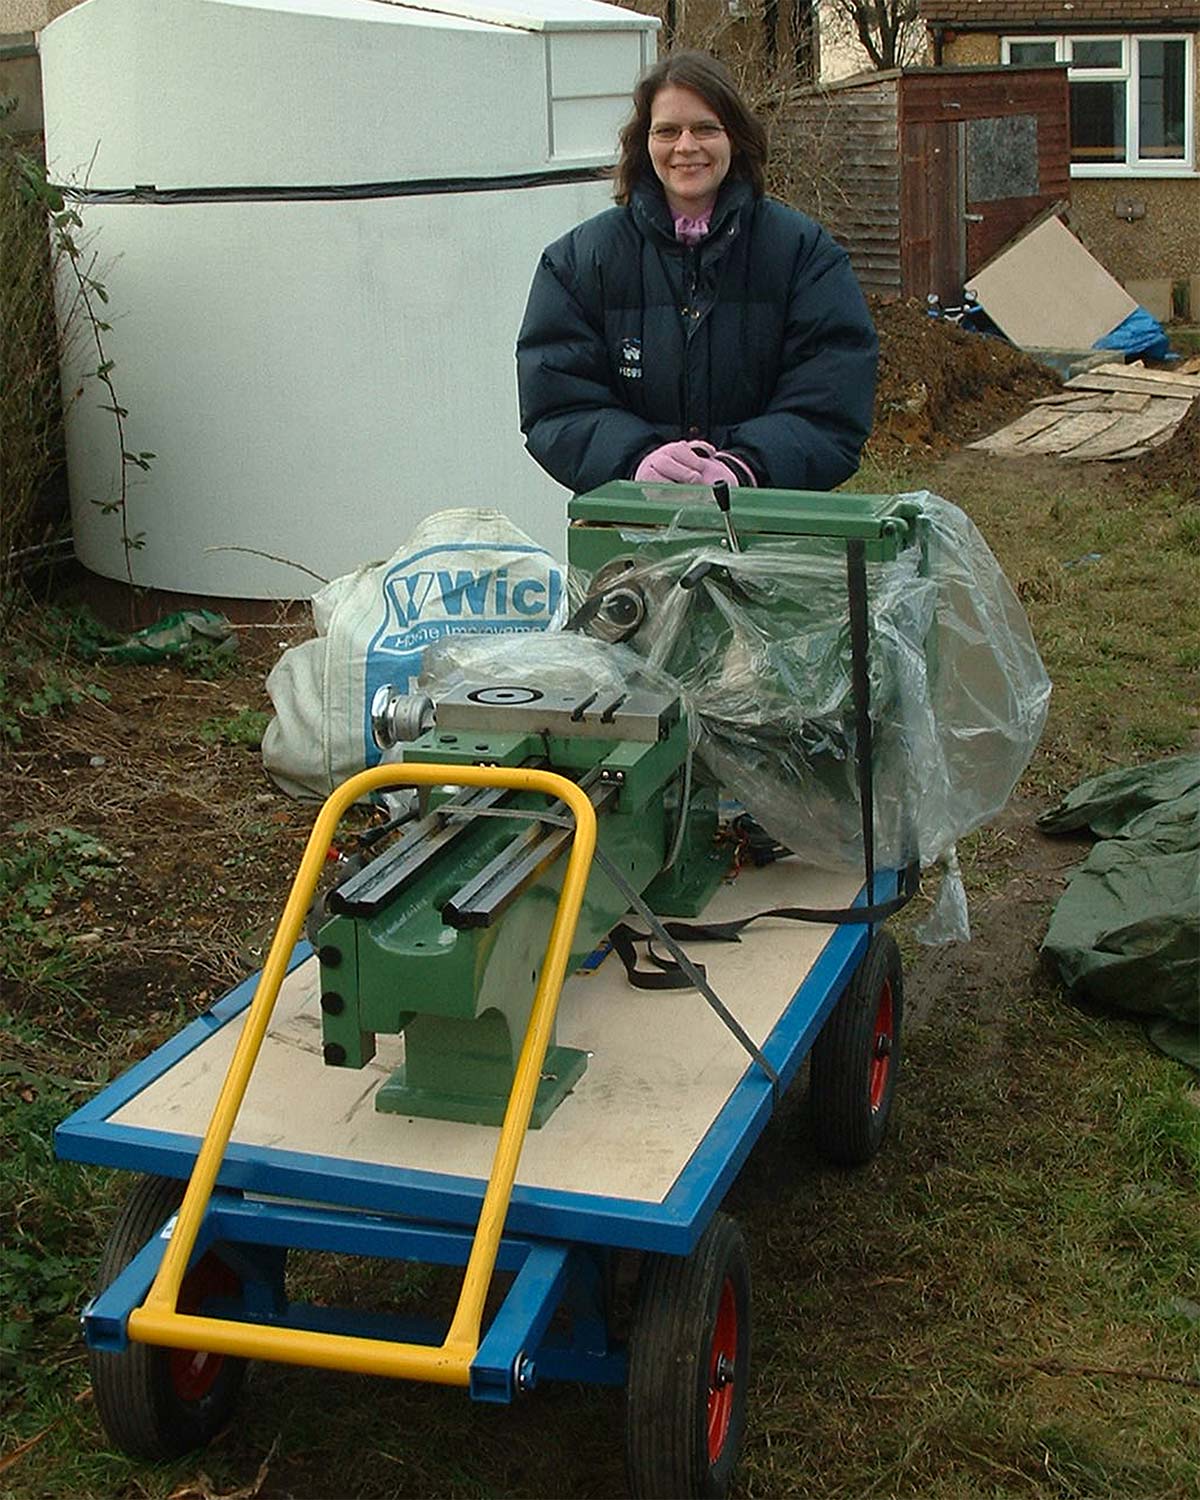 My
dear wife helped push the monster up the ramp. surprisingly this
worked. My
dear wife helped push the monster up the ramp. surprisingly this
worked.
There was a backup plan using a chain hoist..... |
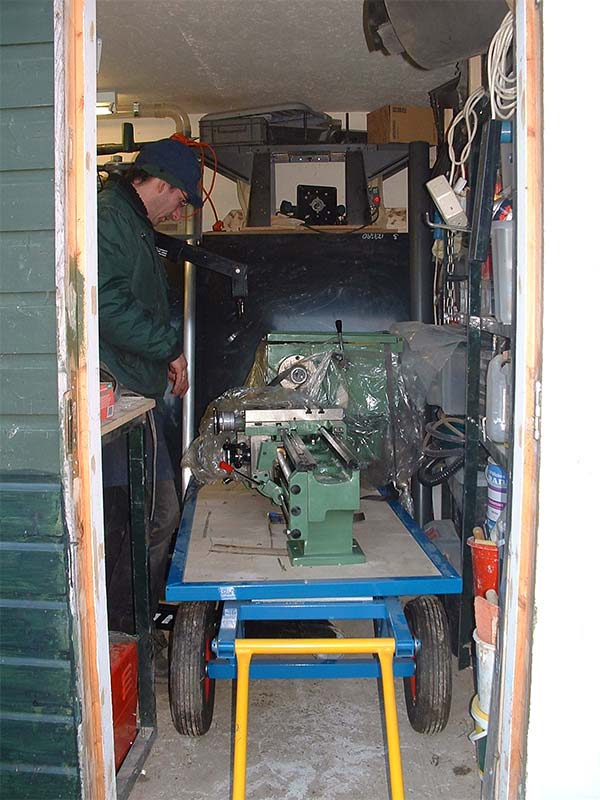 Possibly
not so clear on the picture, but there was only 40mm play between
the door and the cart. Possibly
not so clear on the picture, but there was only 40mm play between
the door and the cart. |
 Lifted
from the cart and repositioned the crane, preparing to lift onto the
stand. Lifted
from the cart and repositioned the crane, preparing to lift onto the
stand.
I then decided to put it on blocks as the lath was not high enough for my liking. |
 The
next day, blocks made and fitted. Most bits are back on the machine
( motor, chuck, top-slide and more) The
next day, blocks made and fitted. Most bits are back on the machine
( motor, chuck, top-slide and more)
these where taken off to lighten the machine the whole thing simply roles on 4 bits or round and with a bit of crowbar power it handles quite well
|
 In
Place and connected to the inverter. In
Place and connected to the inverter.
|
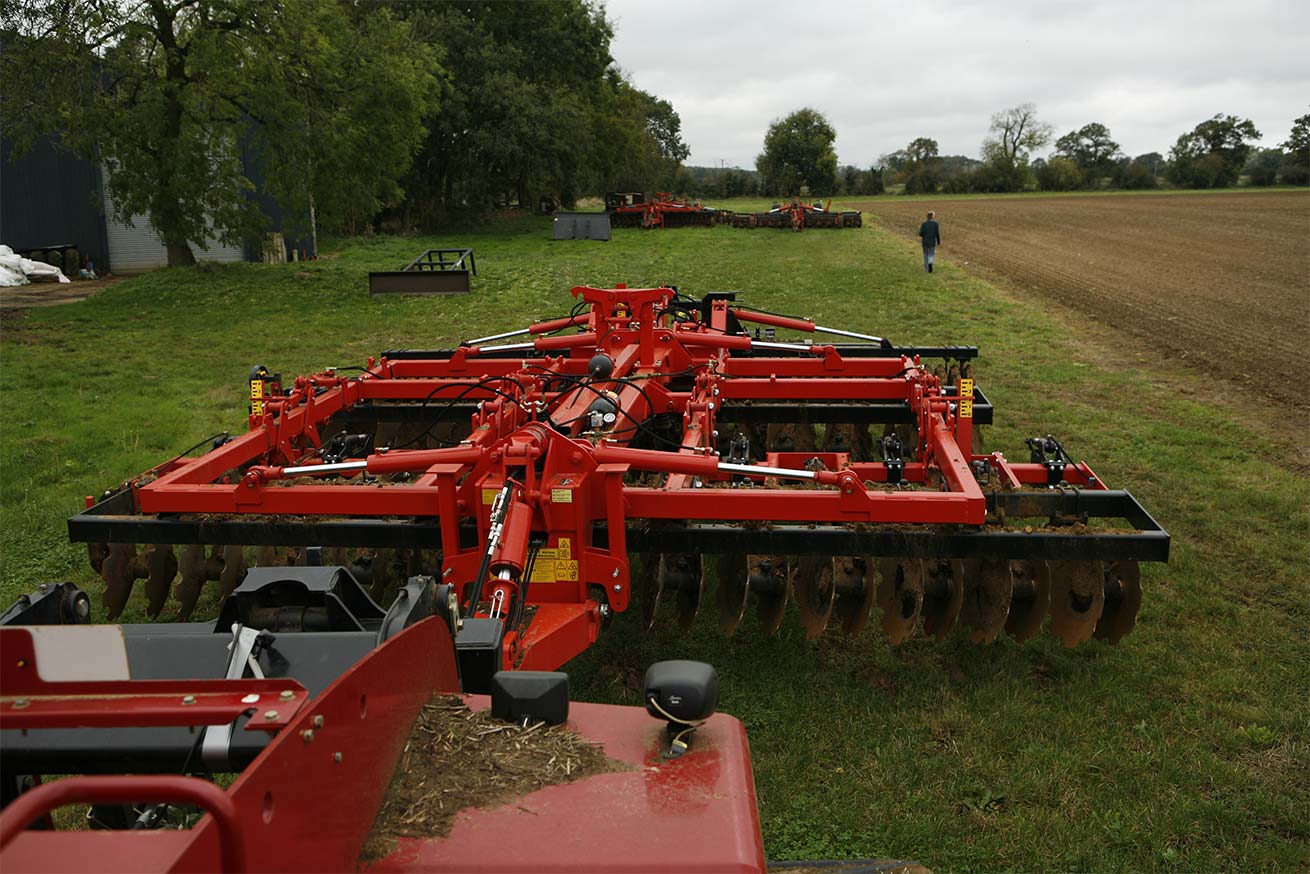
| Gregoire-Besson disk set project |
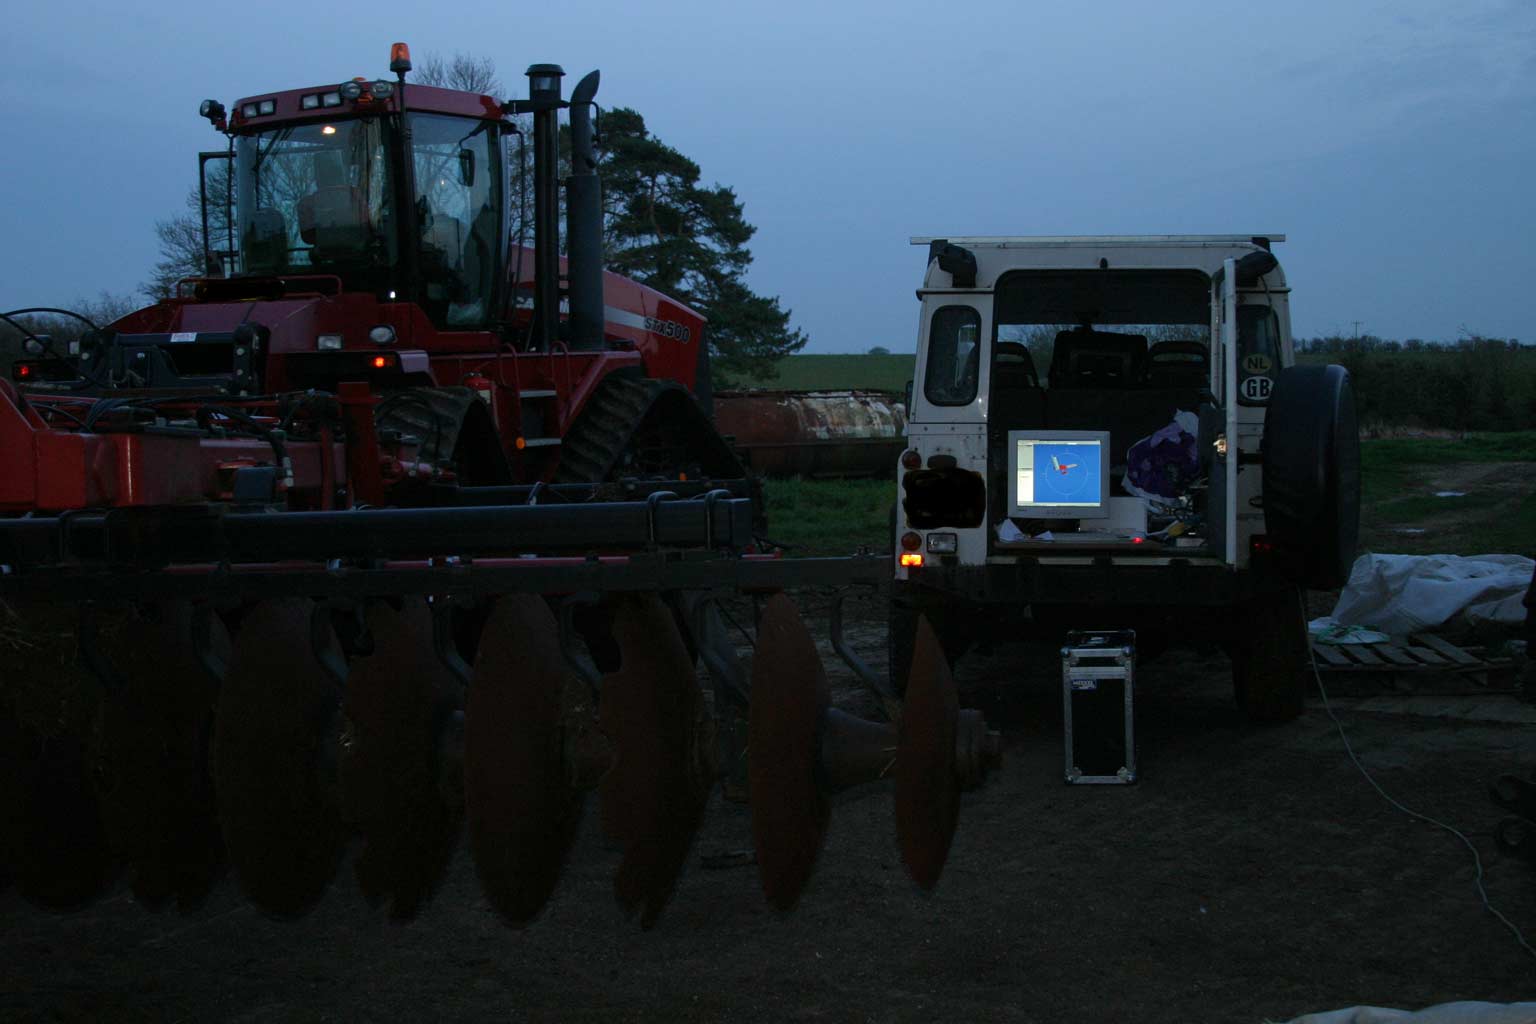
David's new "dinky toy"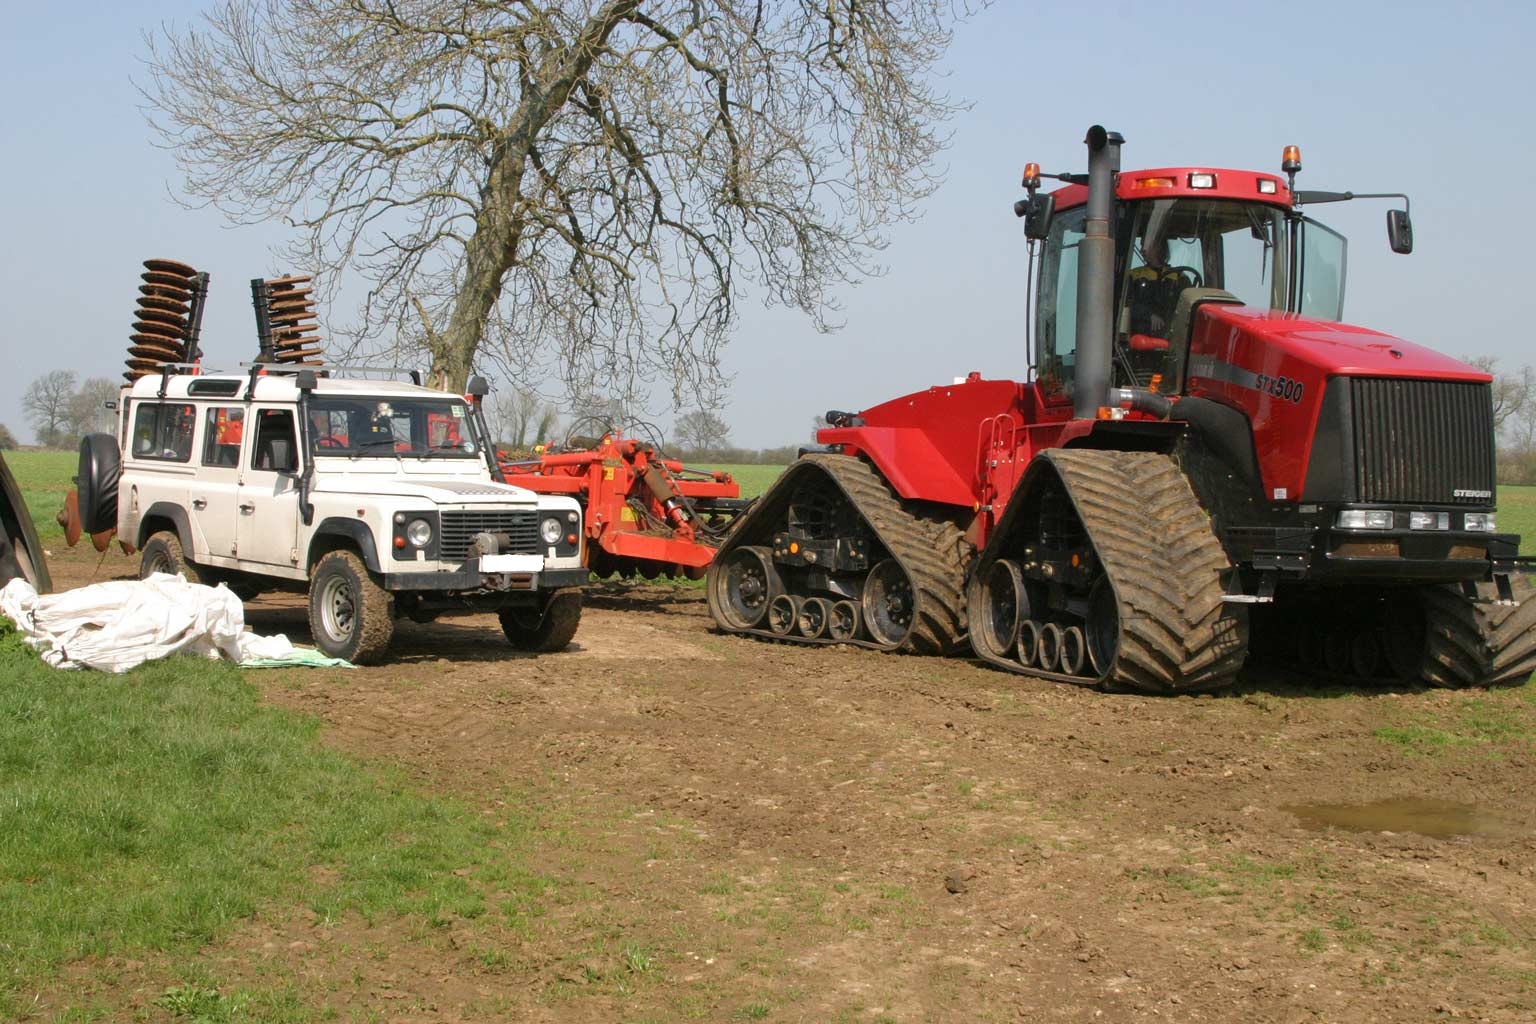
next to my Landy |
The object of our attention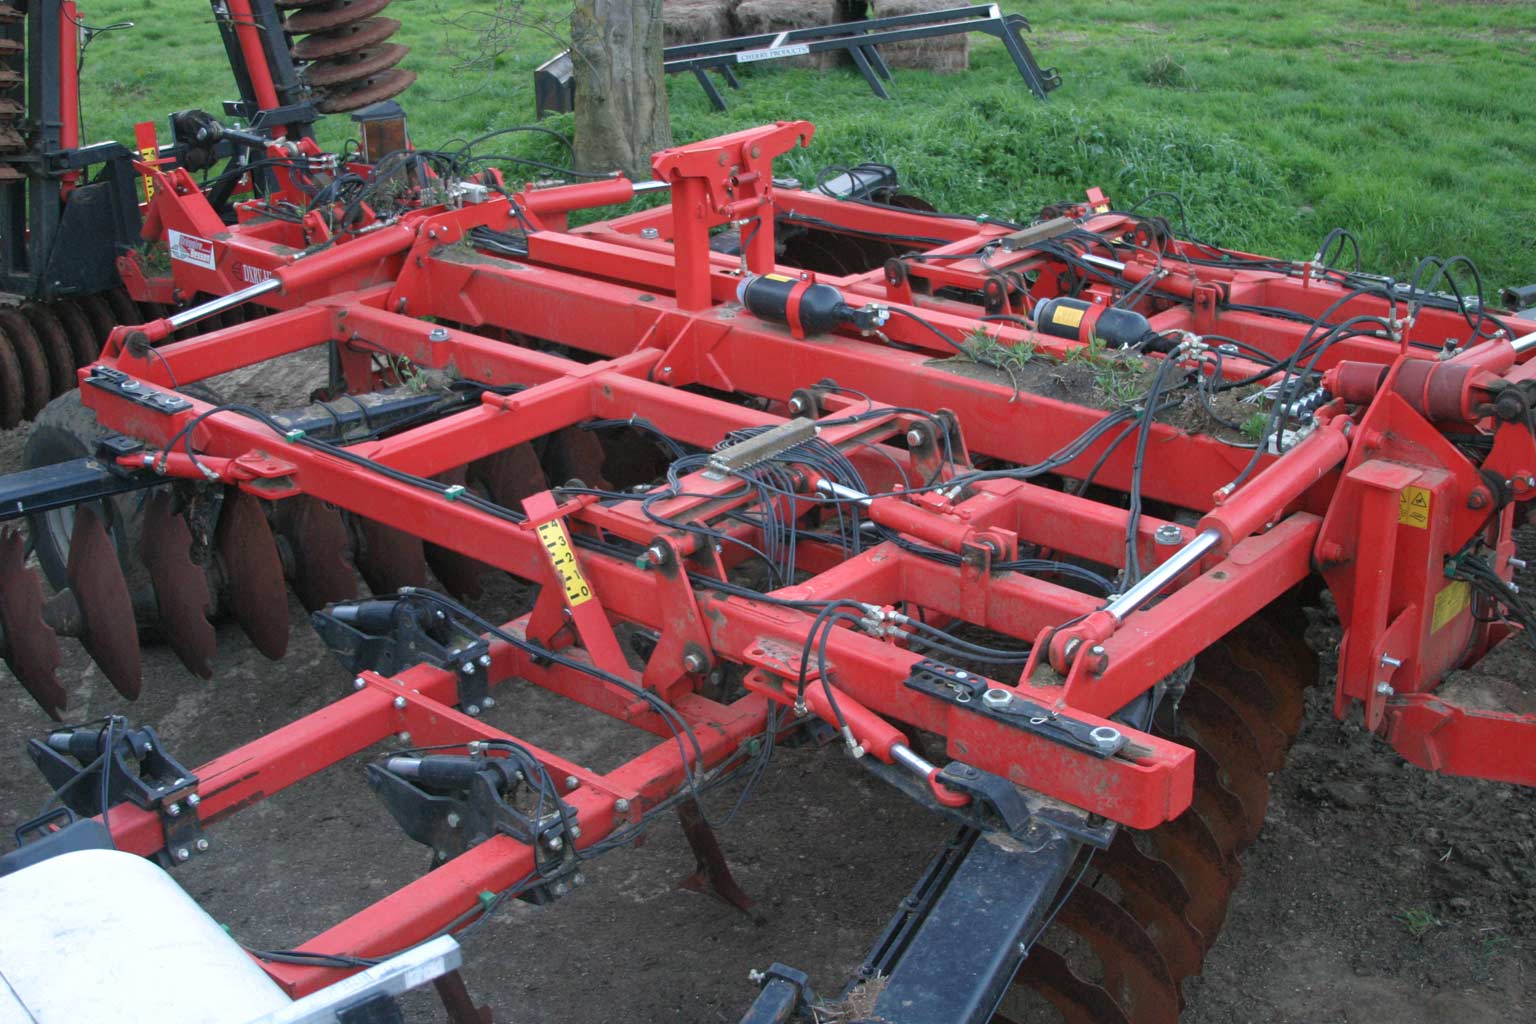
GB Discordon, where we want to replace the rigid disk sets for cantilever units. |
| As per usual with David jobs,
late nights. This is the mobile Inventor studio
|
| 6 months later and the frenchies have made this from our ideas |
 The
cantilever disk sets The
cantilever disk sets |
 Custom
made !! Custom
made !! |
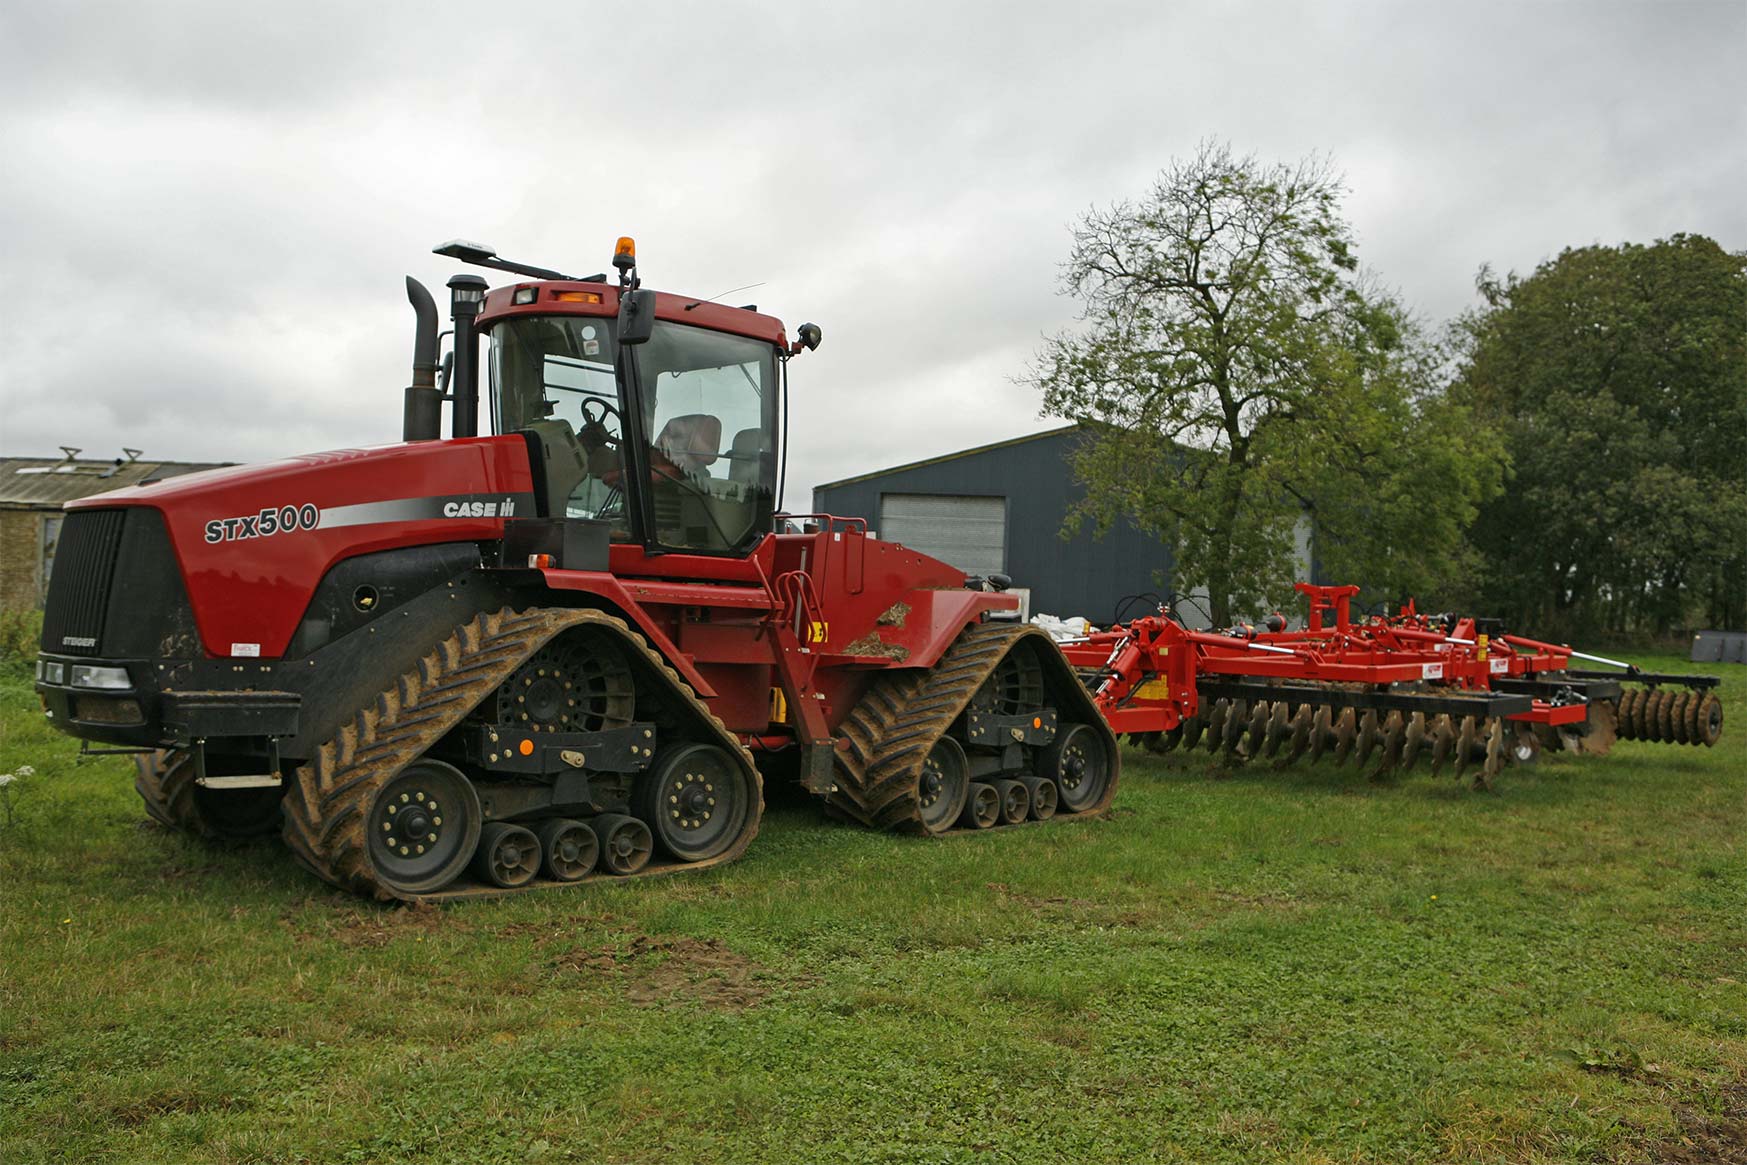 The
whole thing The
whole thing |
 Changing
the SLA mould pattern for the ART2000s. make a mistake and £800
gone... Changing
the SLA mould pattern for the ART2000s. make a mistake and £800
gone... |
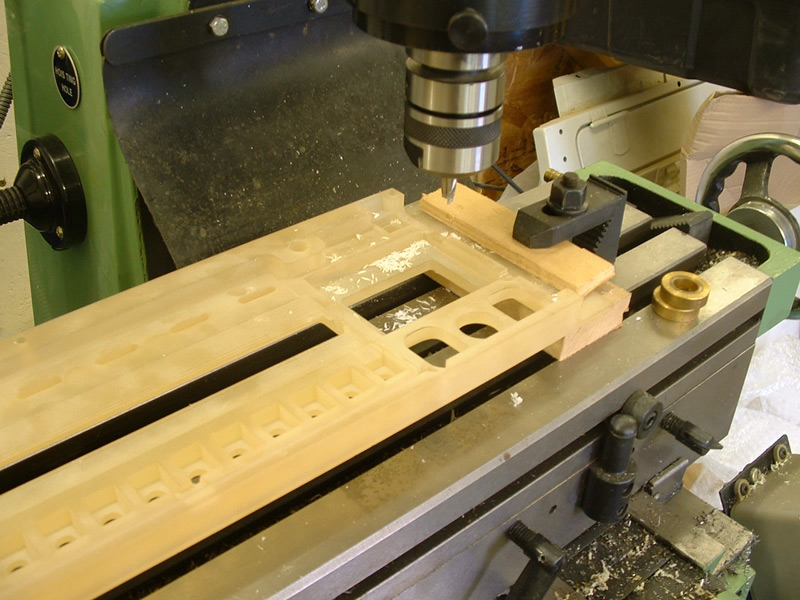
Landy bulkhead pictures |
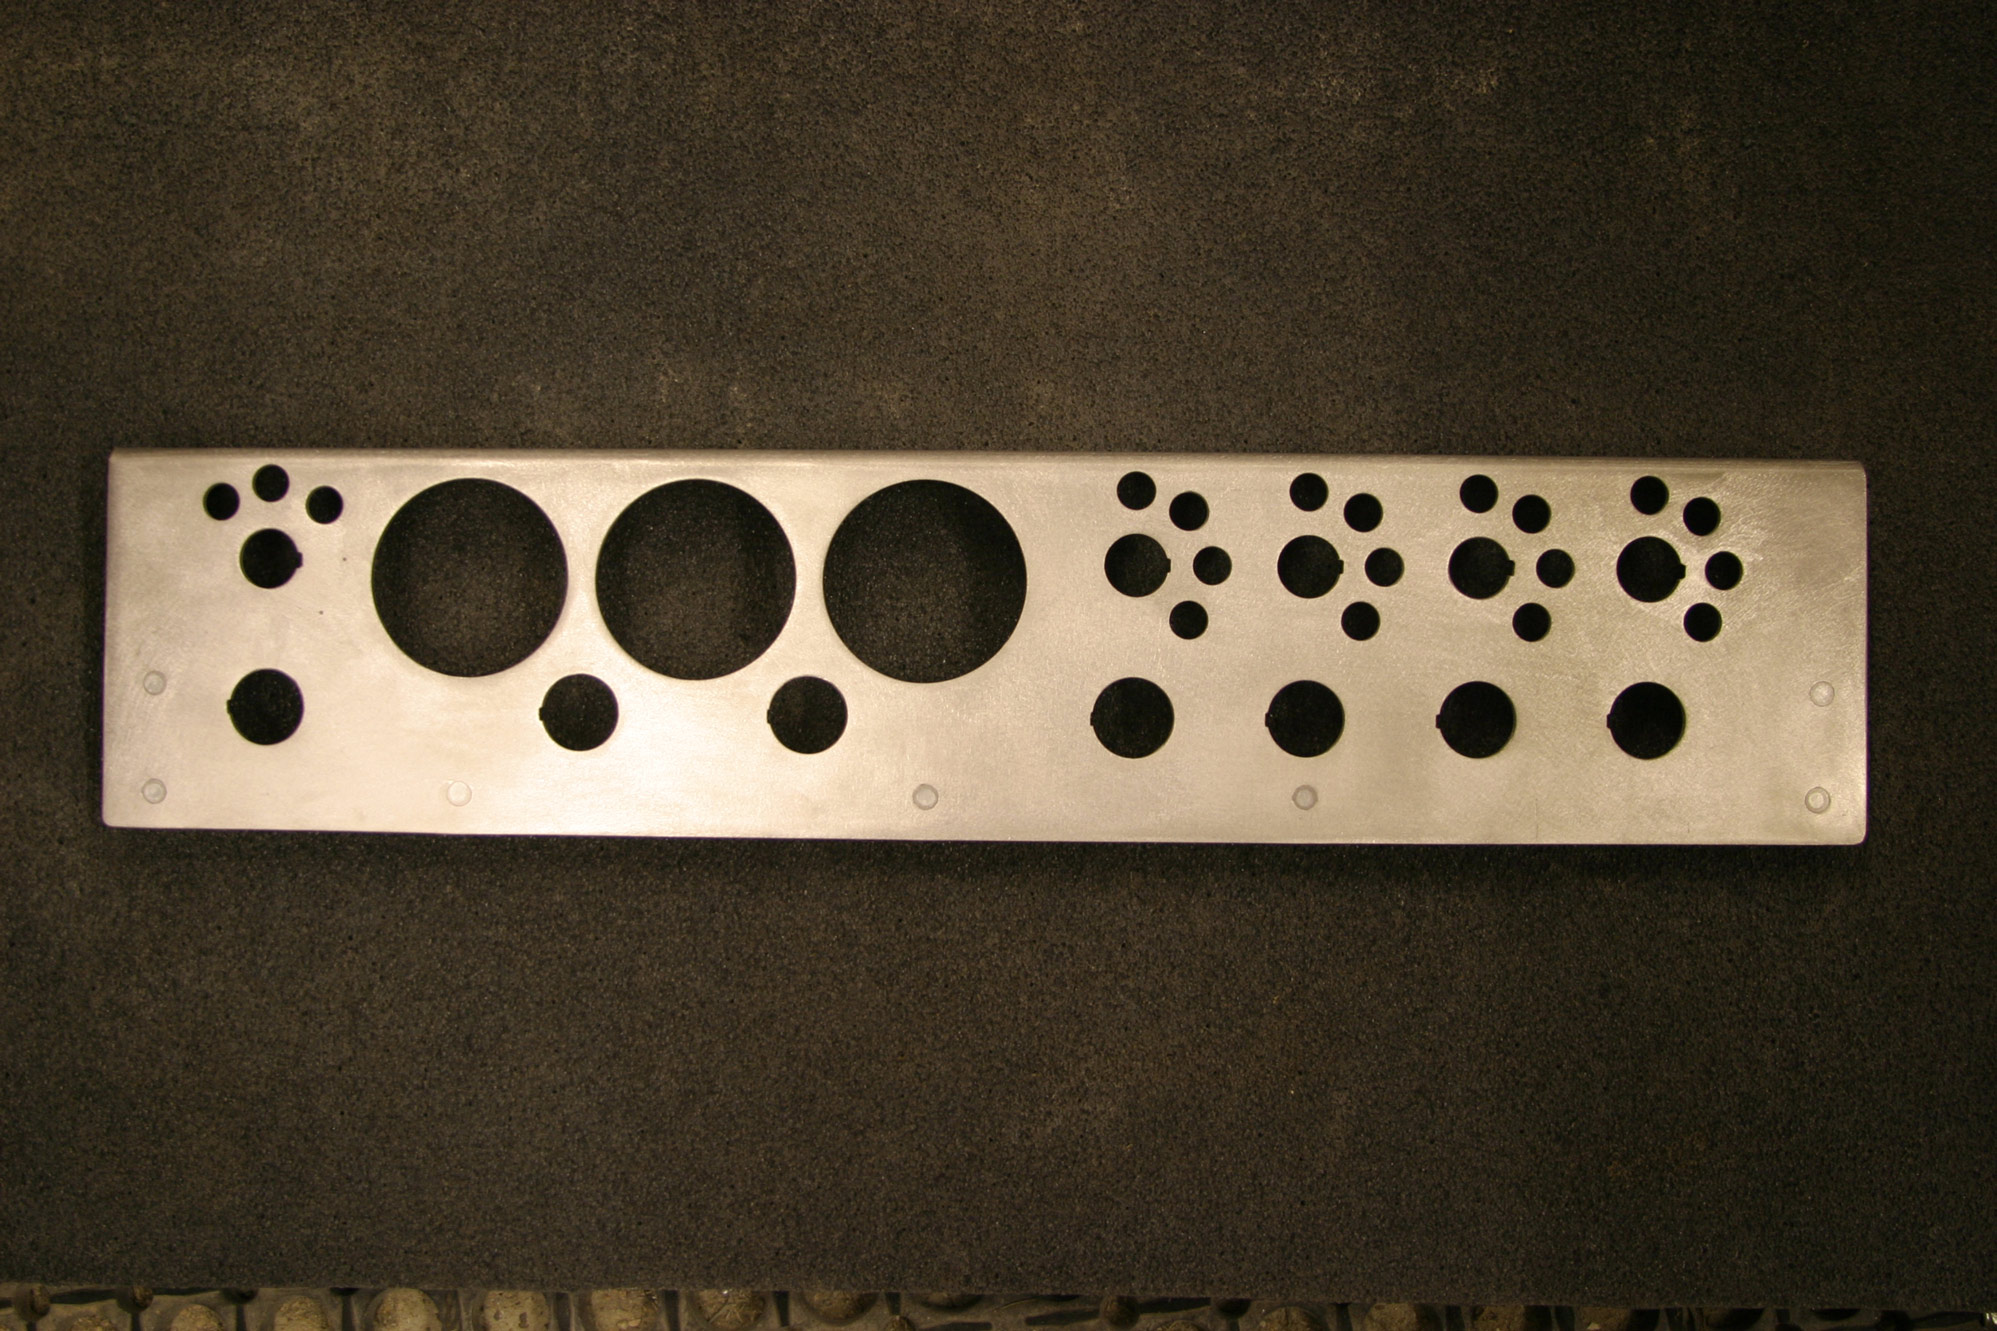 Machined
new front panel for lower parcel shelf in the Landy Machined
new front panel for lower parcel shelf in the Landy |
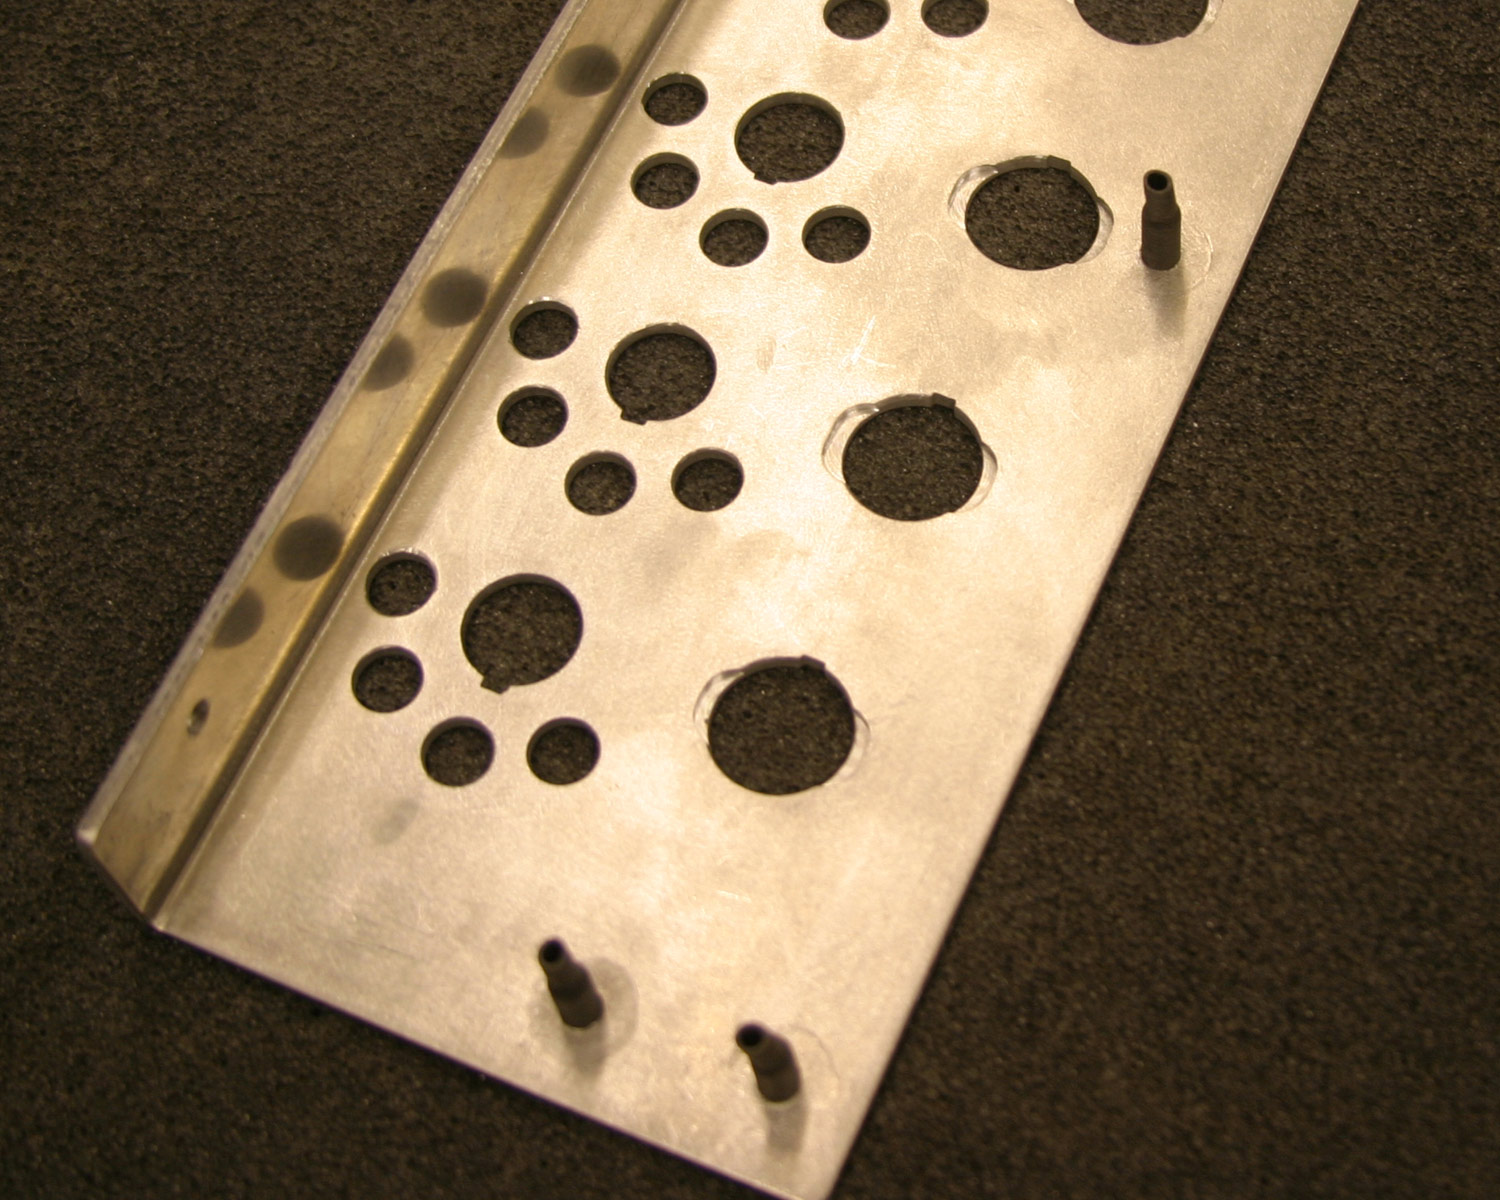 Machined
new front panel fixings (PEM studs) and relieve machined out for
switches Machined
new front panel fixings (PEM studs) and relieve machined out for
switches
|
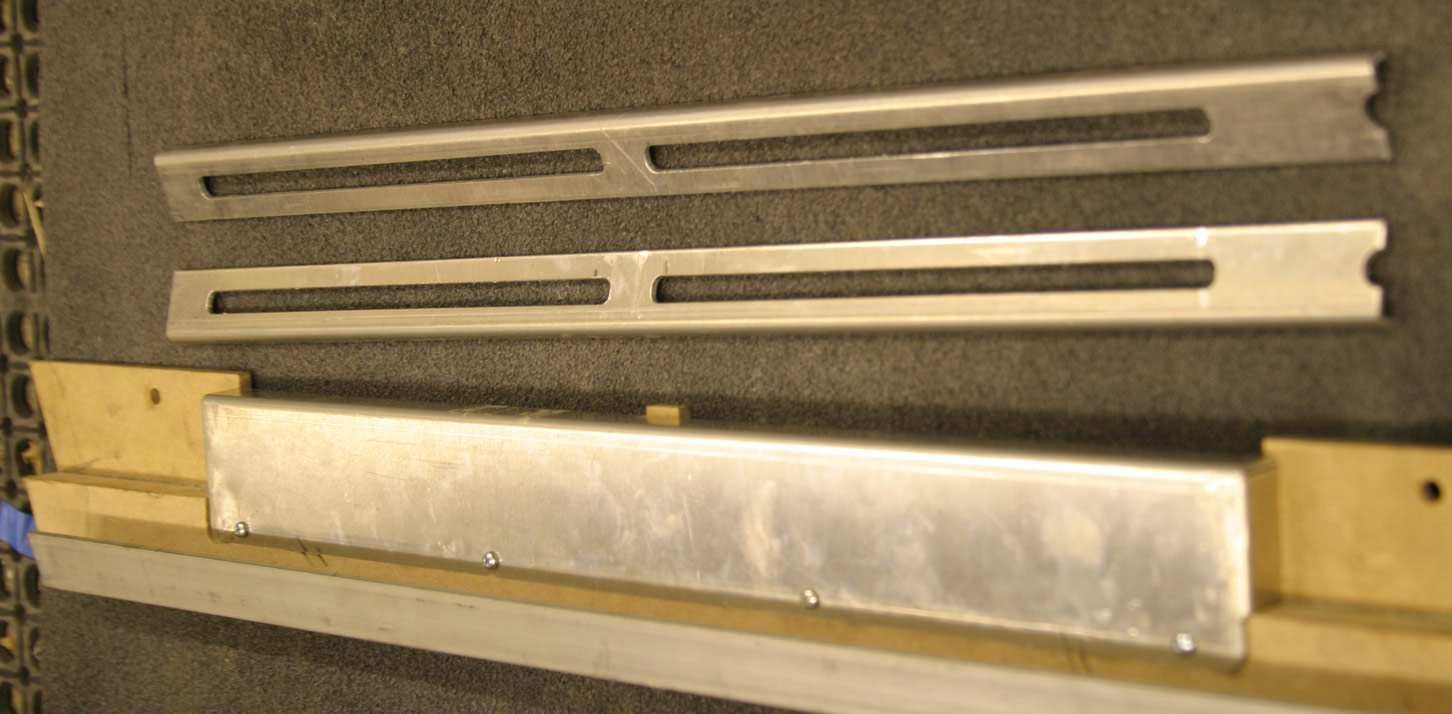
 trying
out the home made top dash panel trying
out the home made top dash panel |
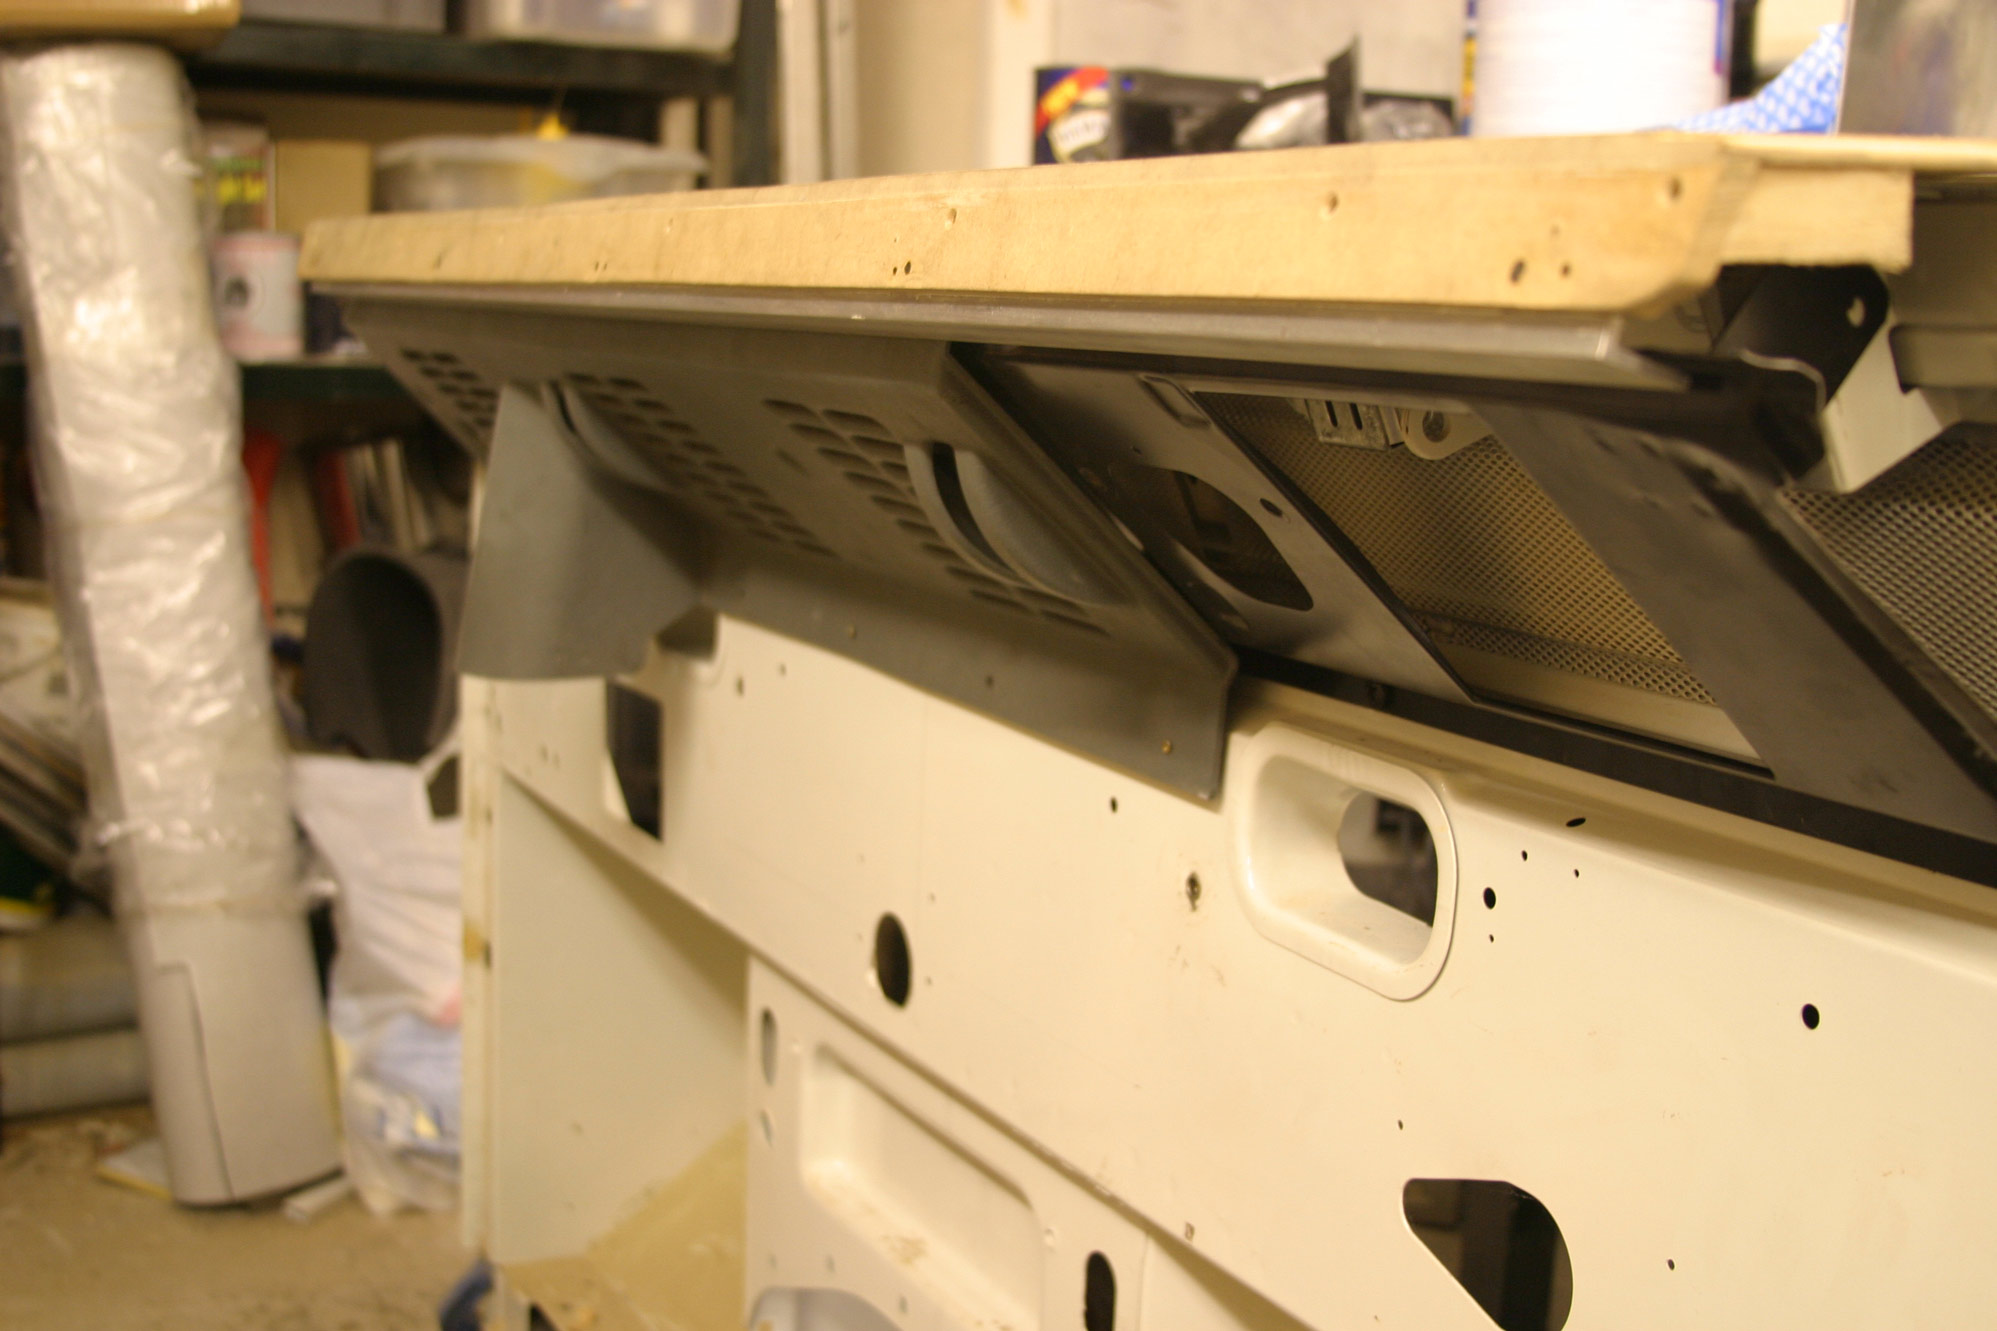
 On
top the machines vent flashing, below the underside of the top dash
with the vent plenum chamber On
top the machines vent flashing, below the underside of the top dash
with the vent plenum chamber |
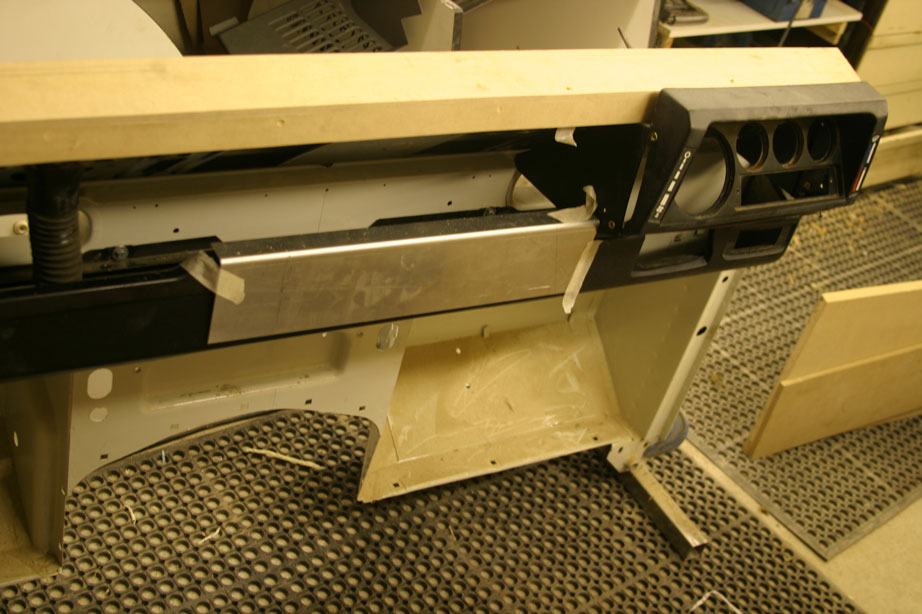 Trying
out the new dash top and the parcel shelf front Trying
out the new dash top and the parcel shelf front |
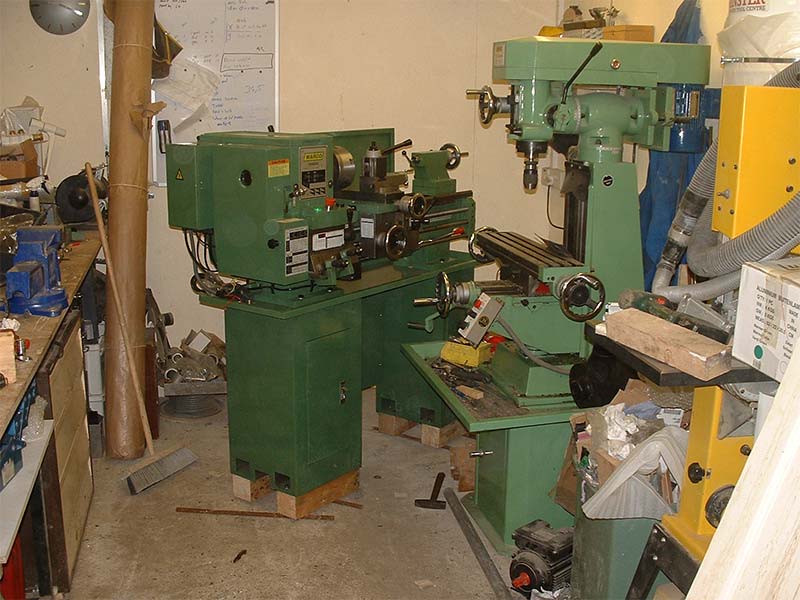
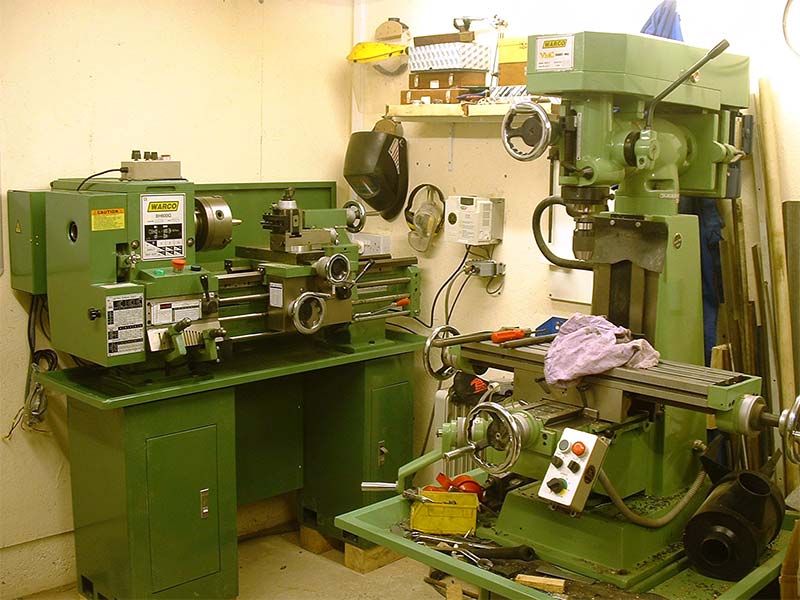
Workshop pictures |
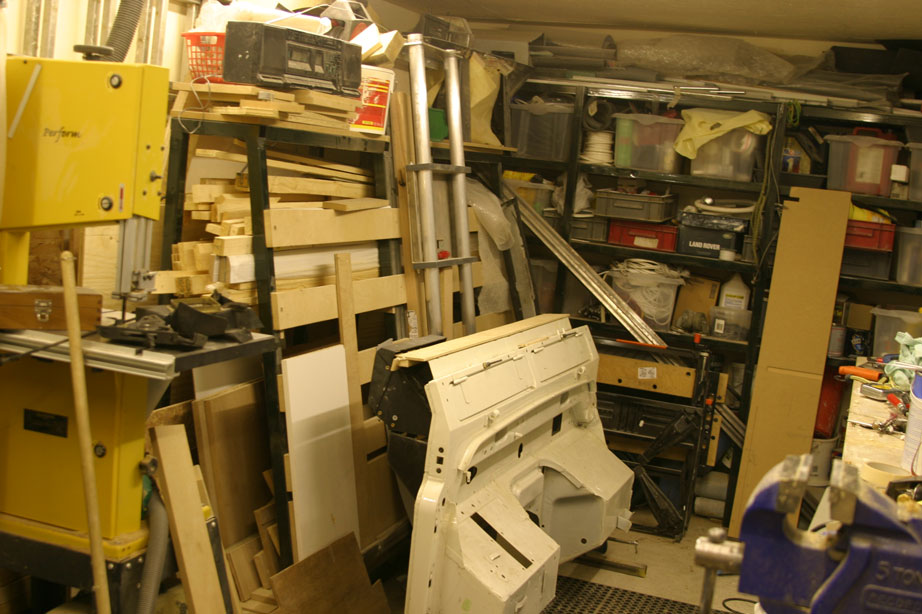 view
to the entry of the workshop, amongst all the stuff, the band saw
and the home made vertical panel saw view
to the entry of the workshop, amongst all the stuff, the band saw
and the home made vertical panel saw |
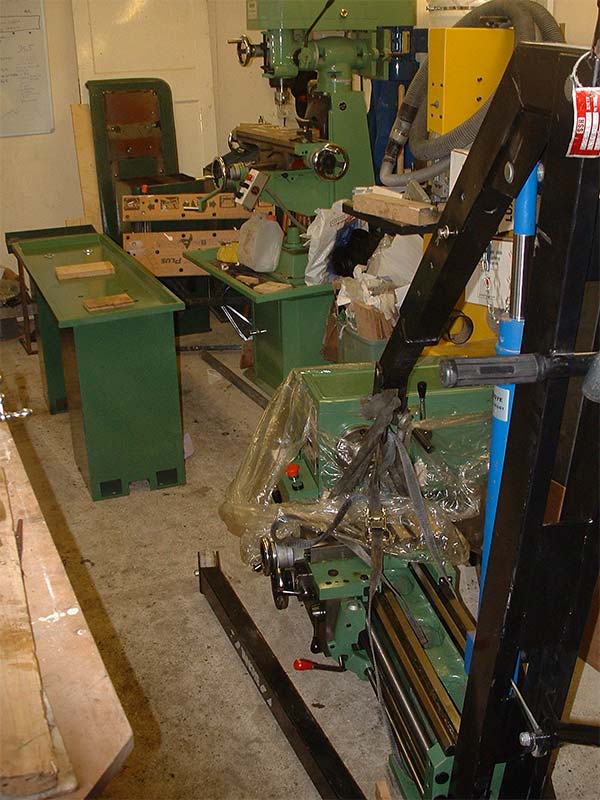
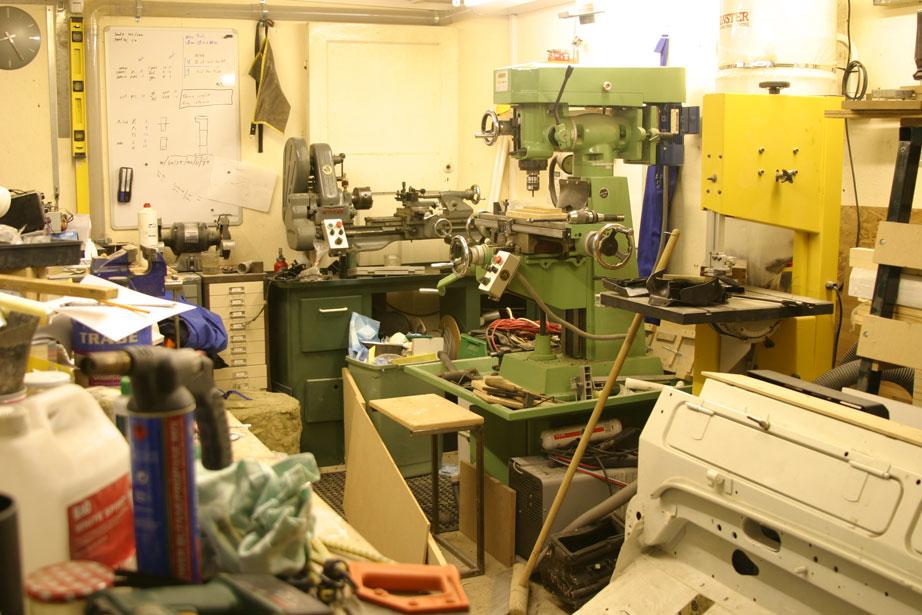 View
to the back of the workshop, Myford, Warco mill, and band saw again View
to the back of the workshop, Myford, Warco mill, and band saw again |
 Finally
off the crate. Now I can lift it and drive the cart under it to move
the thing
Finally
off the crate. Now I can lift it and drive the cart under it to move
the thing